Resizing Images
Introduction
Section titled “Introduction”In this tutorial, we will utilize ImageMagick, a free and open-source command-line tool, to resize a source image into multiple target sizes.
This is a common use case in web development when a master image needs to be displayed on various screen sizes.
We will also see how we can scale this process by using an each task to parallelize the resizing tasks.
Software we’ll be using
Section titled “Software we’ll be using”-
Tork
-
Minio which is a self-hosted S3-like service to store our target outputs.
-
Docker for Tork’s internal task execution.
-
curl to interact with the Tork API
-
jq to parse the JSON response from the Tork API
The Workflow
Section titled “The Workflow”- Make a list of target output resolutions.
- Create a resizing task for each target resolution.
- Download the source image.
- Resize it to the target resolution.
- Upload the output to Minio.
Installing Tork
Section titled “Installing Tork”-
Download Tork.
-
Extract the binary to some directory. E.g.:
tar xvzf tork_0.1.66_darwin_arm64.tgz- Start Minio:
docker network create miniodocker run -d \ --name minio \ --network minio \ -p 9000:9000 \ -p 9001:9001 minio/minio \ server /data \ --console-address ":9001"- Run Tork in
standalonemode:
./tork run standaloneImplementing the workflow
Section titled “Implementing the workflow”Let’s create an empty file named resize.yaml to store our workflow in.
Open the resize.yaml file using a text editor of your choice.
Let’s first create a really basic “hello world” workflow just to kick the tires:
name: Resizing image demotasks: - name: say hello image: alpine:3.18.3 run: echo -n hello world > $TORK_OUTPUTThis is a one-step workflow that uses the standard Linux Alpine image to execute a very simple echo command and redirect its output to tork’s standard output represented by $TORK_OUTPUT
Let’s submit the job using curl:
curl -s \ -X POST \ -H "content-type:text/yaml" \ --data-binary @resize.yaml \ http://localhost:8000/jobs | jq .If all goes well, you should see something like this:
{ "id": "8495007c297c424f8cc09b7d7cab7ad4", "name": "Resizing image demo", "state": "PENDING", "createdAt": "2023-09-18T02:28:40.53386Z", "position": 0, "taskCount": 1}Which means our job was successfully submitted and is pending execution. Let’s now probe for the results. Using the id of the job, let’s ask the API for its status:
curl -s http://localhost:8000/jobs/8495007c297c424f8cc09b7d7cab7ad4 | jq .You should see a rather lengthy response with all the execution details. I’ve abberviated it a bit:
{ "id": "8495007c297c424f8cc09b7d7cab7ad4", "name": "Resizing image demo", ... "execution": [ { "id": "bc84fd897dfd41a08b14ada423d66cea", "name": "say hello", "state": "COMPLETED", "run": "echo -n hello world > $TORK_OUTPUT", "image": "alpine:3.18.3", "result": "hello world", ... } ],}OK, now that we know that everything behaves as expected let’s write the actual workflow.
For reference, here is the final workflow.
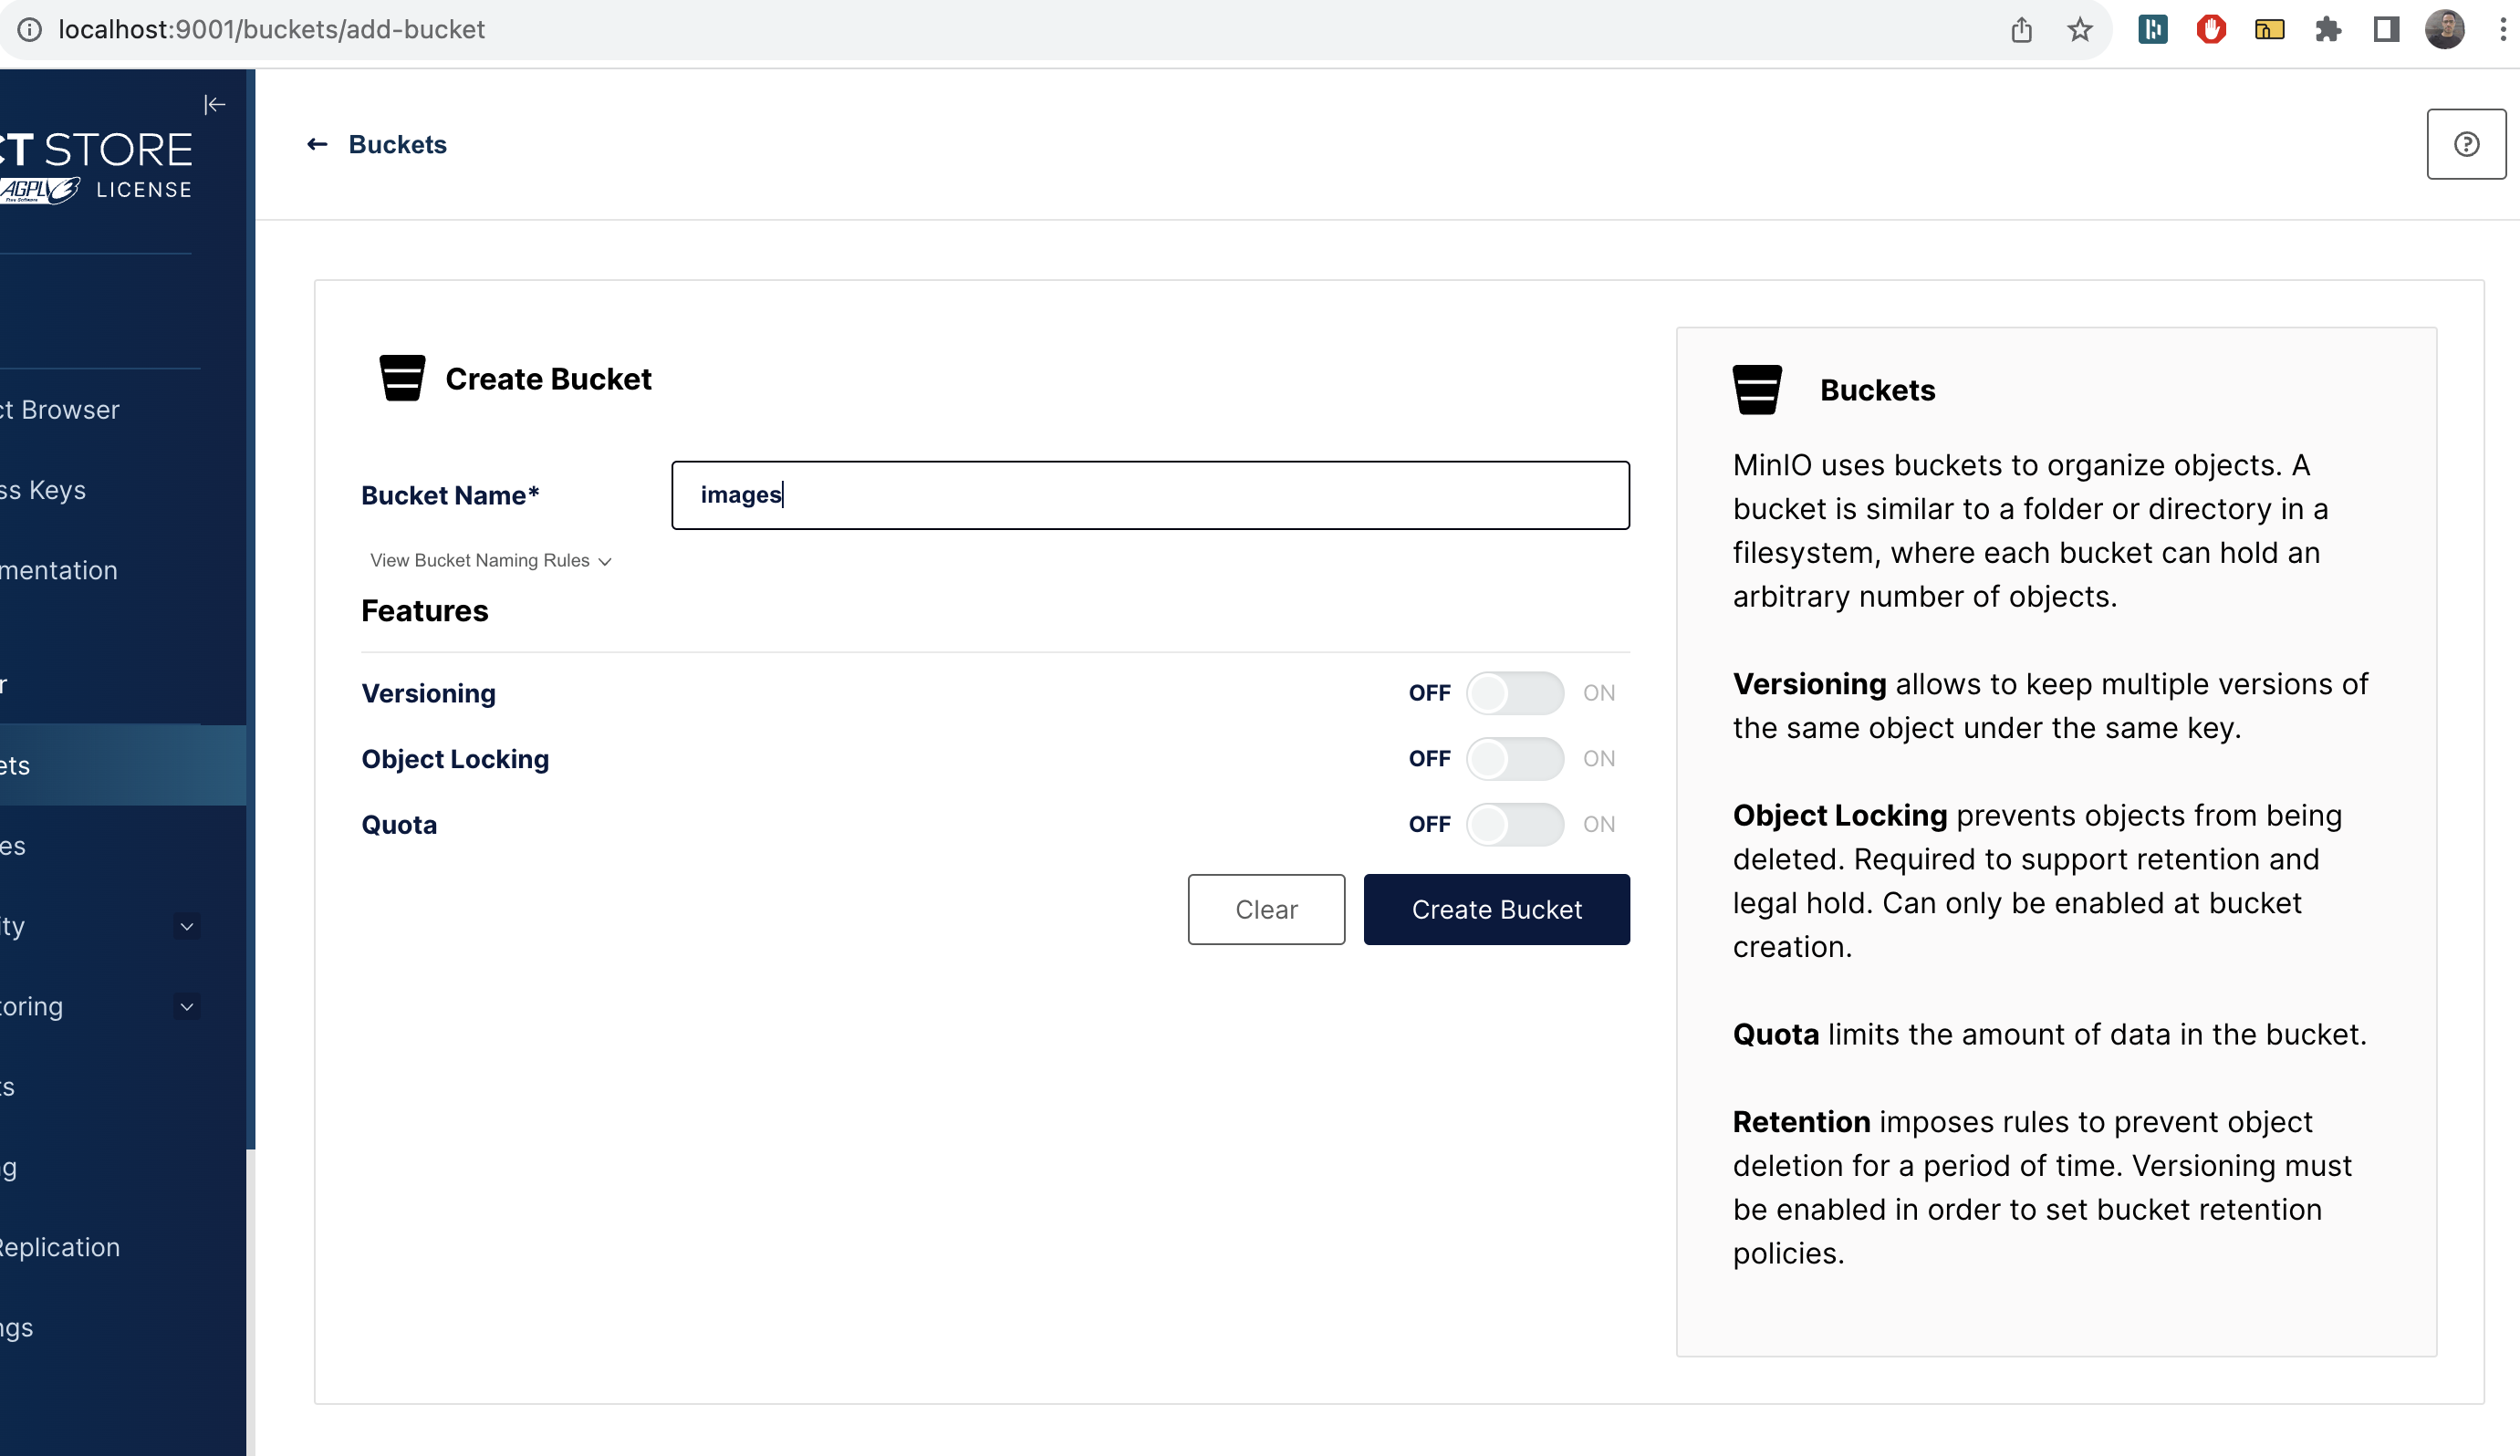
Using the minio admin console: http://localhost:9000 — default username and password should be minioadmin / minioadmin.
Let’s create a bucket named images.
Next get our workflow inputs in order. By this I mean the source URL of the image and the Minio Server address and credentials. Just below the job’s name add the following:
inputs: accessKeyID: minioadmin # the default minio username secretKeyID: minioadmin # the default minio password endpointURL: http://minio:9000 source: https://upload.wikimedia.org/wikipedia/commons/c/ca/Bbb-splash.png # or some other image target: s3://imagesNext, let’s create a task to extract the filename extension of the source image - we will need this later. Just under tasks add the following task (you can remove the “say hi” task):
- name: Extract the filename extension of the source image: alpine:3.18.3 var: fileExt env: SOURCE: "{{ inputs.source }}" run: | FILENAME=$(basename -- "$SOURCE") EXT="${FILENAME##*.}" echo -n $EXT > $TORK_OUTPUTLet’s run this job to see everything works so far using curl like we did before. To make things easier the following command will store the Job ID in the JOB_ID variable so we won’t have to manually copy-paste it:
JOB_ID=$(curl -s \ -X POST \ -H "content-type:text/yaml" \ --data-binary @resize.yaml \ http://localhost:8000/jobs | jq -r .id)There shouldn’t be any visible output from this command (but if you want you can see the job ID with the command echo $JOB_ID).
Now let’s probe for its results:
curl -s http://localhost:8000/jobs/$JOB_ID | jq '.'If all goes well, you should see the result property of the first task in the execution array populated with the file extension (png in this case):
{ "id": "1643668fea1049c1ae370ce767c69bfa", "name": "Resizing image demo", "state": "COMPLETED", ... "execution": [ { "name": "Extract the filename extension of the source", "result": "png", ... } ], ...}Next, let’s try and convert the source image to a single resolution.
To do the actual resizing we are going to use ImageMagick. A quick Google search for “docker imagemagick” I found dpokidov/imagemagick which seems to fit the bill. Let’s try and use it. Here’s our next task:
- name: "Resize the source image to 100x100" image: dpokidov/imagemagick:7.1.1-15-ubuntu env: SOURCE: "{{ inputs.source }}" run: convert $SOURCE -resize 100x100 /tmp/100x100.jpgIf you submit the job and probe for its results you should see an error on this task that looks something like this:
exit code 1: jconvert: delegate failed `'curl' -s -k -L -o '%u.dat' ...That basically means that ImageMagick does not handle remote (http) images very well. That’s fine. This will be a good opportunity to use a pre task to download the image first.
Here’s the revised task:
- name: "Resize the source image to 100x100" image: dpokidov/imagemagick:7.1.1-15-ubuntu mounts: - type: volume target: /workdir pre: - name: download the remote file image: alpine:3.18.3 env: SOURCE: "{{ inputs.source }}" EXT: "{{ tasks.fileExt }}" run: | wget $SOURCE -O "/workdir/source.$EXT" env: EXT: "{{ tasks.fileExt }}" run: convert "/workdir/source.$EXT" -resize 100x100 /workdir/100x100.jpgSince the pre task and the actual task run in two different containers we use the volumes property to create a shared directory where the pre task can download the file into and the task itself uses.
If we run this, it will work but of course we won’t see any output because we’re not doing anything with the output file.
Let’s use a post task to upload it to minio. Here is the revised task:
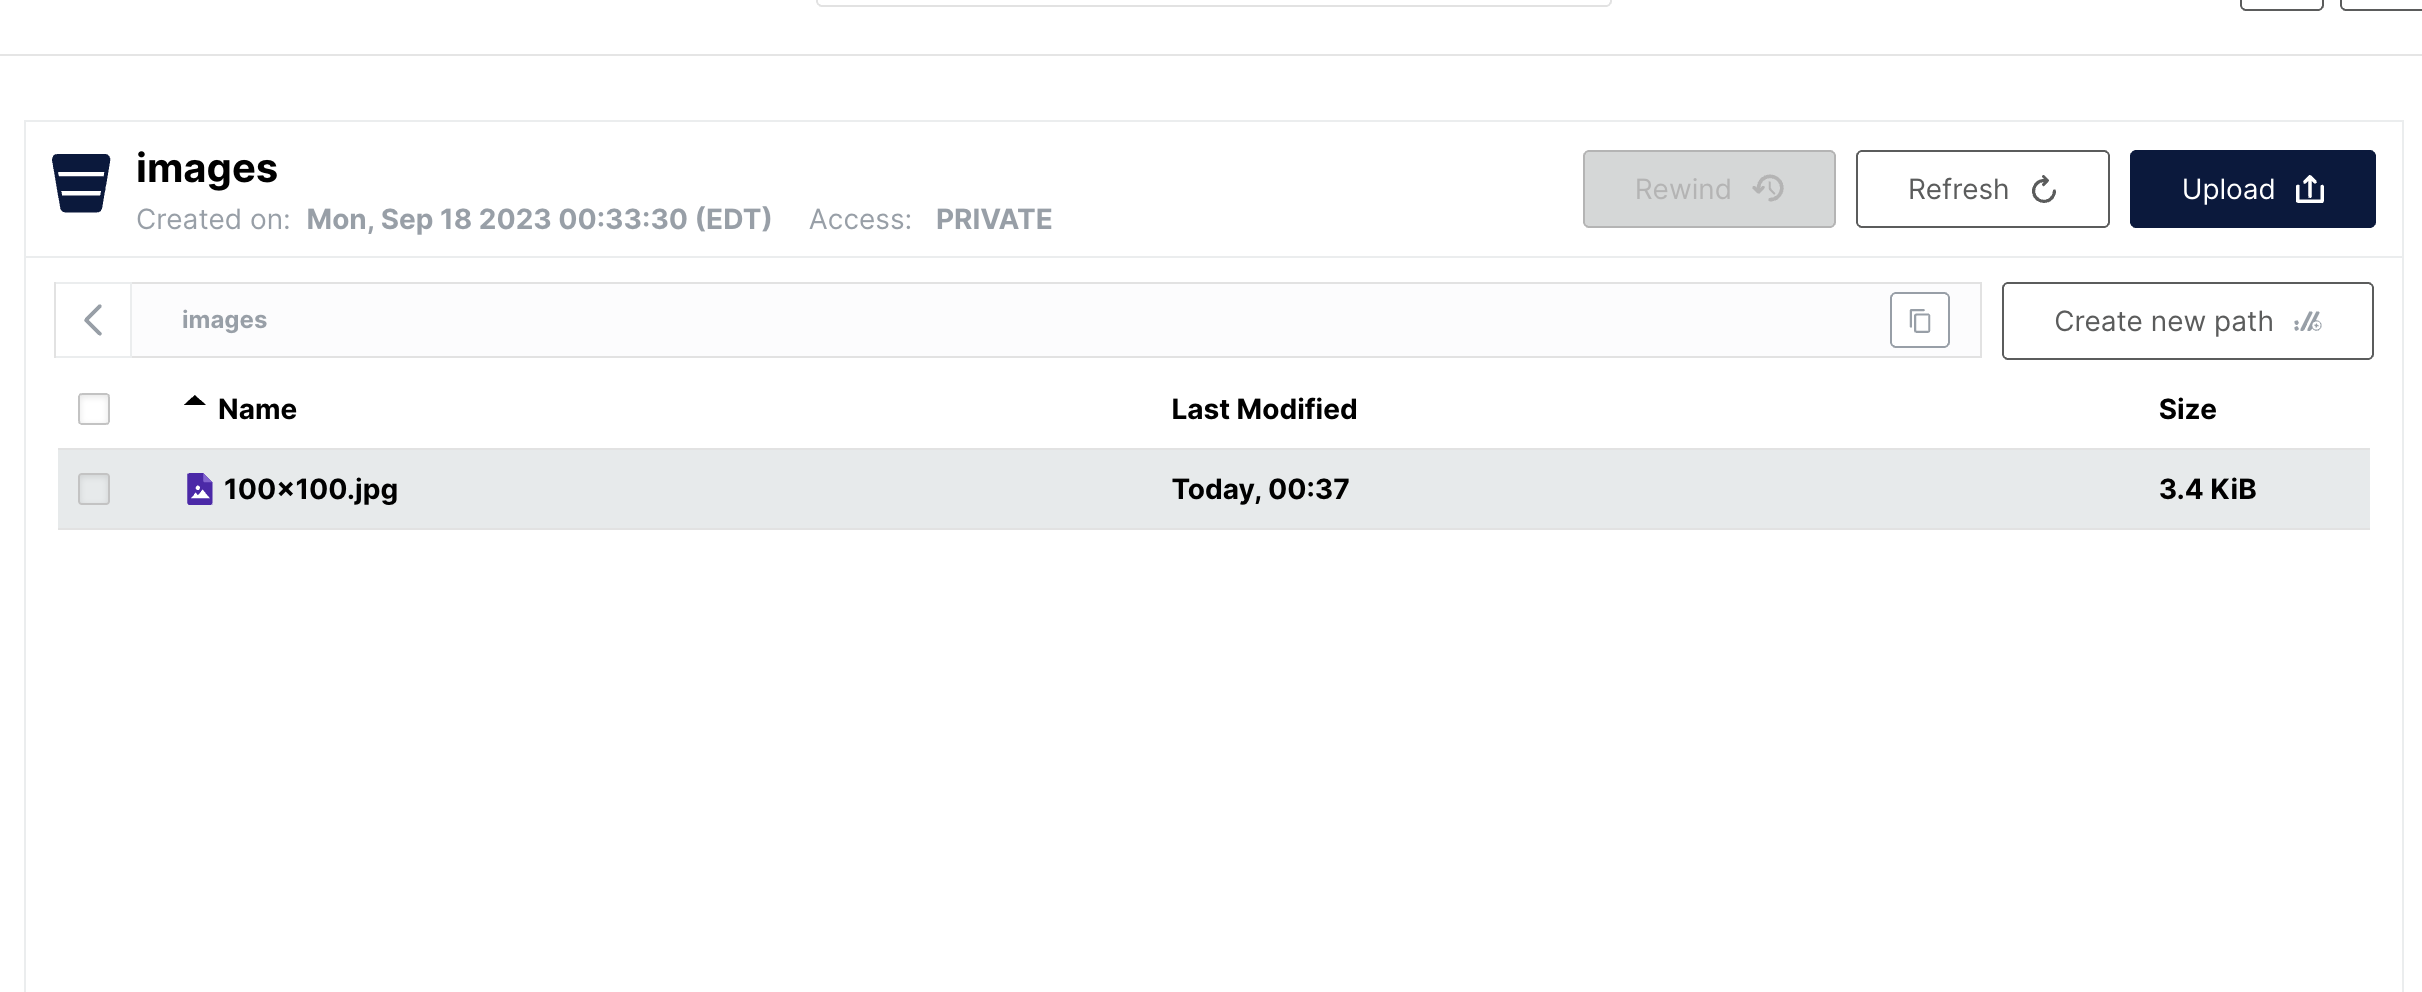
- name: "Resize the source image to 100x100" image: dpokidov/imagemagick:7.1.1-15-ubuntu mounts: - type: volume target: /workdir networks: - minio pre: - name: download the remote file image: alpine:3.18.3 env: SOURCE: "{{ inputs.source }}" EXT: "{{ tasks.fileExt }}" run: | wget $SOURCE -O "/workdir/source.$EXT" env: EXT: "{{ tasks.fileExt }}" run: convert "/workdir/source.$EXT" -resize 100x100 /workdir/100x100.jpg post: - name: upload the converted image to minio run: aws --endpoint-url $ENDPOINT_URL s3 cp /workdir/100x100.jpg $TARGET/100x100.jpg image: amazon/aws-cli:2.13.10 env: AWS_ACCESS_KEY_ID: "{{inputs.accessKeyID}}" AWS_SECRET_ACCESS_KEY: "{{inputs.secretKeyID}}" TARGET: "{{inputs.target}}" ENDPOINT_URL: "{{inputs.endpointURL}}"Let’s submit this job, and once it completes we should be able to see our output on Minio:
Lastly, we want to resize this image into multiple resolutions. Of course we could copy paste the task several times but there’s an easier way, which would also parallelize the resizing tasks for us. Let’s use an each task to execute the task we just created for each resolution in the list. Here’s the revised task:
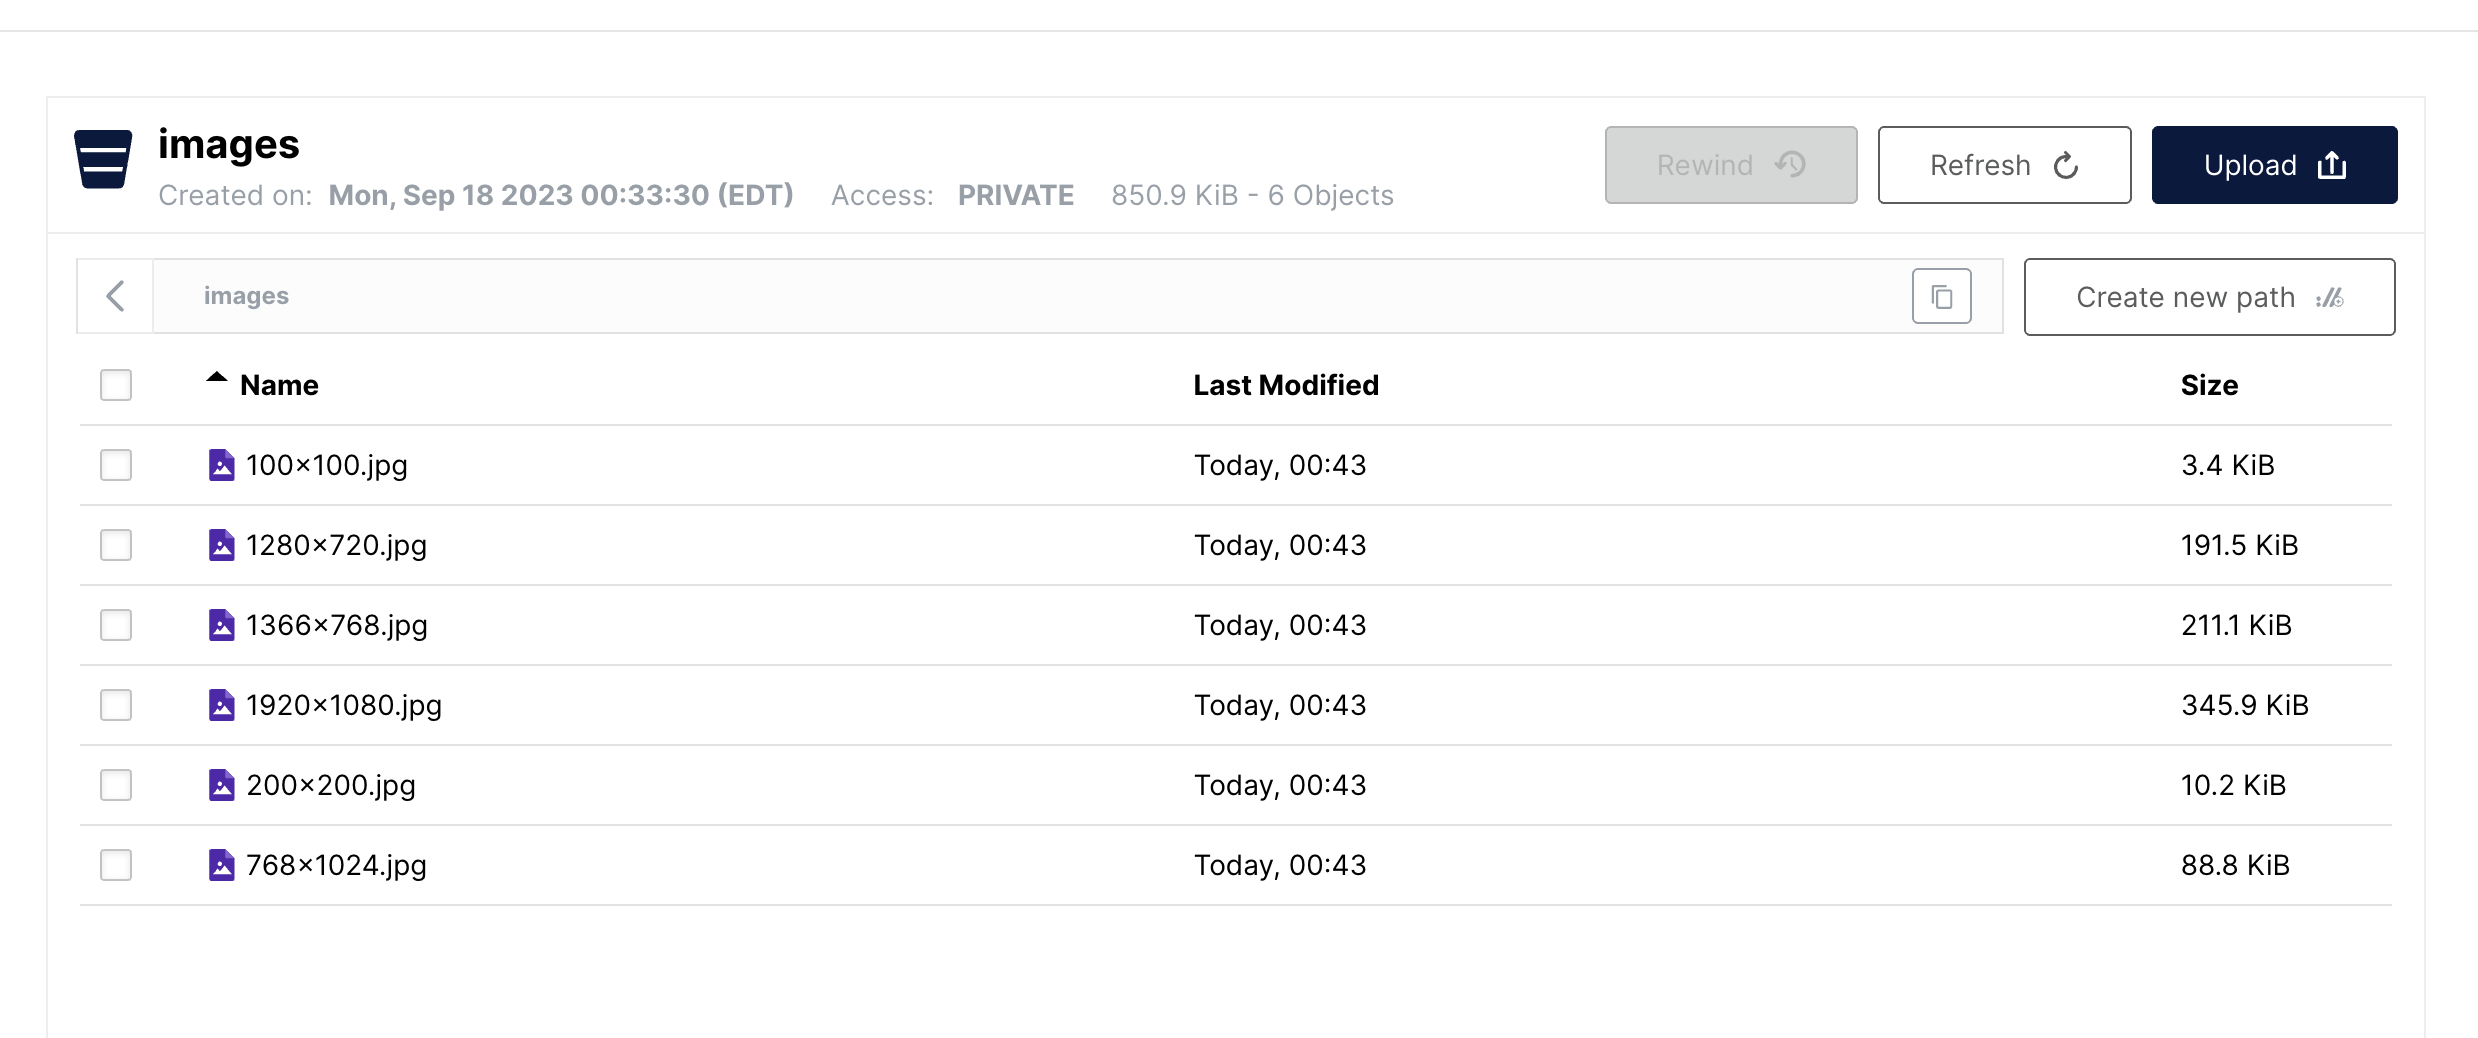
- name: Convert the image to various resolutions each: list: "{{ ['1920x1080','1366x768','1280x720','768x1024','100x100','200x200'] }}" task: name: "Scale the image to {{ item.value }}" image: dpokidov/imagemagick volumes: - /workdir networks: - minio pre: - name: download the remote file image: alpine:3.18.3 env: SOURCE: "{{ inputs.source }}" EXT: "{{ tasks.fileExt }}" run: | wget $SOURCE -O "/workdir/source.$EXT" env: EXT: "{{ tasks.fileExt }}" SIZE: "{{ item.value }}" run: | mkdir /workdir/targets convert "/workdir/source.$EXT" -resize $SIZE "/workdir/targets/$SIZE.jpg" post: - name: upload the converted image to minio run: aws --endpoint-url $ENDPOINT_URL s3 cp /workdir/targets/$SIZE.jpg $TARGET/$SIZE.jpg image: amazon/aws-cli:2.13.10 env: AWS_ACCESS_KEY_ID: "{{inputs.accessKeyID}}" AWS_SECRET_ACCESS_KEY: "{{inputs.secretKeyID}}" TARGET: "{{inputs.target}}" ENDPOINT_URL: "{{inputs.endpointURL}}" SIZE: "{{ item.value }}"And we should be able to find all our outputs in the images bucket: